Converting Models to 3DML
The Convert Models to 3DML tool enables you to create a unified, stream optimized 3D Mesh Layer (3DML) database from a point feature layer with individually referenced 3D model files. This tool is only recommended for converting layers with many small models (each model should not exceed 100 MB), e.g., a city with individually modeled buildings. For larger model files, it is recommended to export the mesh models in a format that supported by TerraExplorer, and then to import them. See “Streaming 3D Models Using Feature Layers” in the “Feature Layers” chapter and “Working with 3D Mesh Layers” and "Importing and Converting 3D Mesh Layers" in the “3D Mesh Layers” chapter for information. Conversion to 3DML improves performance and provides better support for web and mobile devices, especially for large layers that reference many different models. If your point feature layer references multiple instances of only a few models, conversion to 3DML is not recommended.
To create a 3DML dataset:
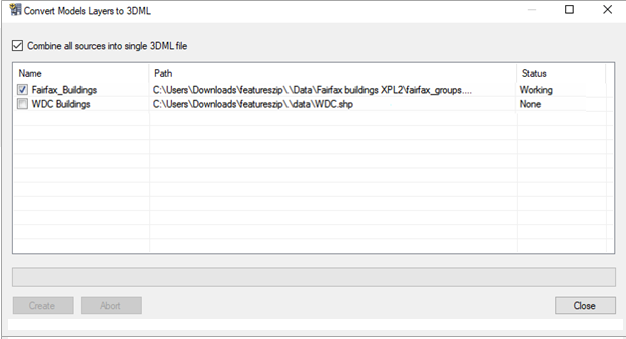
1. On the Layers tab, in the 3D Mesh group, click Models to 3DML. The Convert Models Layer to 3DML dialog is displayed, showing a list of all shapefile, sqlite, and GeoPackage point feature layers in the project with individually referenced 3D model files.
Note: It may take a short while for the list of layers to be displayed.

Convert Models Layer to 3DML
2. Select the files for which you want to create 3DML layers, and click Create.
Note: You can click Abort at any point to cancel 3DML creation.
3. If you want to combine all sources into a single 3DML, select the check box.
4. When the 3DML layers have been created, a dialog is displayed informing you that the 3DML layers will now be loaded into the project, and asking you if you want to remove the corresponding feature layers that they were based on. Click Yes to remove them, or click No to leave them in the project.