Importing a Model
To import a single model:
1. Select the tile for which you want to import a model. See "Selecting Tiles" in the "Reviewing Your Build" chapter. The Tile tab is displayed.
2. On the Tile tab, in the Import group, click Model. The Import Model dialog is displayed.
3. Browse to the required model and click Open. The Import Model dialog is displayed.
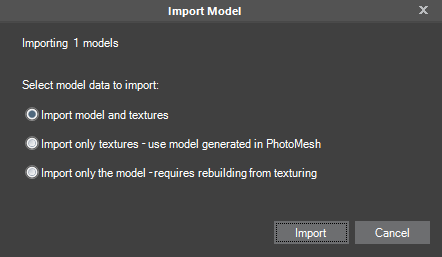
Import Model Dialog
4. Select the model data to import and then click Import:
§ Import model and textures
§ Import only textures – use model generated in PhotoMesh
§ Import only the model – requires rebuilding from texturing
5. After reimporting, rebuild using the "Build" command starting from "Auto", to have PhotoMesh automatically determine what processing must be performed to complete the project. See "Rebuilding" in the "Building" chapter for information.
To import a folder with multiple models:
1. On the Home tab, in the Add group, click the arrow under Retouch and select Import Models. The Import Model Folder dialog is displayed.
2. Browse to the folder that contains the edited models and click Select Folder. The Import Model dialog is displayed.
Note: The model files must have the original file names with which they were exported to enable PhotoMesh to update the respective tiles based on the edited models.
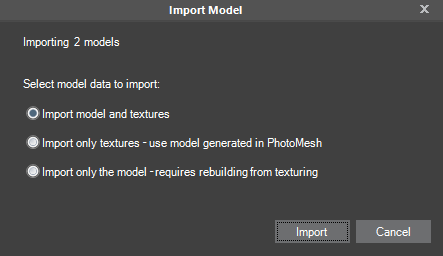
Import Model Dialog
3. Select the model data to import and then click Import:
§ Import model and textures
§ Import only textures – use model generated in PhotoMesh
§ Import only the model – requires rebuilding from texturing
4. After reimporting, rebuild using the "Build" command starting from "Auto" and building until "Output", to have PhotoMesh automatically determine what processing must be performed to complete the project. See "Rebuilding" in the "Building" chapter for information.