Setting an Inspection Point (Point of Interest)
To set an inspection point:
1. In the Photo Inspector Quick Guide, click Zoom in ![]() to view the inspection area.
to view the inspection area.
2. Click Set inspection point ![]() (Shortcut key: “m”) and then click on the model in the point of interest. The photos looking at the point are listed in the Photo Inspector lists under the main and secondary viewers. In the 3D Window, photo icons are displayed for each of the photos looking at the point.
(Shortcut key: “m”) and then click on the model in the point of interest. The photos looking at the point are listed in the Photo Inspector lists under the main and secondary viewers. In the 3D Window, photo icons are displayed for each of the photos looking at the point.
3. If the photo viewers are displayed, you can select a new point of interest by clicking Set inspection point ![]() , and then clicking on one of the photos.
, and then clicking on one of the photos.
4. Use the Reset ![]() button on the toolbar to clear the inspection point, close the photo viewers and reset the visibility filter on the photo’s layer in the 3D Window to view all photo icons.
button on the toolbar to clear the inspection point, close the photo viewers and reset the visibility filter on the photo’s layer in the 3D Window to view all photo icons.
Photo Inspector Lists
To be listed in the viewers' Photo Inspector lists, a photo must meet the following conditions:
§ Its location is within the Settings-Search distance value of the point of interest.
§ It was calculated by PhotoMesh's aerotriangulation process.
§ The point of interest was projected within the photo frame but not too close (> 50 pixels) to the edge of the photo.
The number of photos listed in the viewers is determined by the Max Results per Viewer setting. The photos are listed in order from most relevant to the point of interest to least relevant according to the following criteria:
§ Distance between the photo and the selected point
§ Angle of the camera to the selected point in comparison to the viewer angle
If the selected point is on a horizontal surface (road, roof), more weight is given to the distance factor. If the selected point is on a vertical surface, more weight is given to the angle.
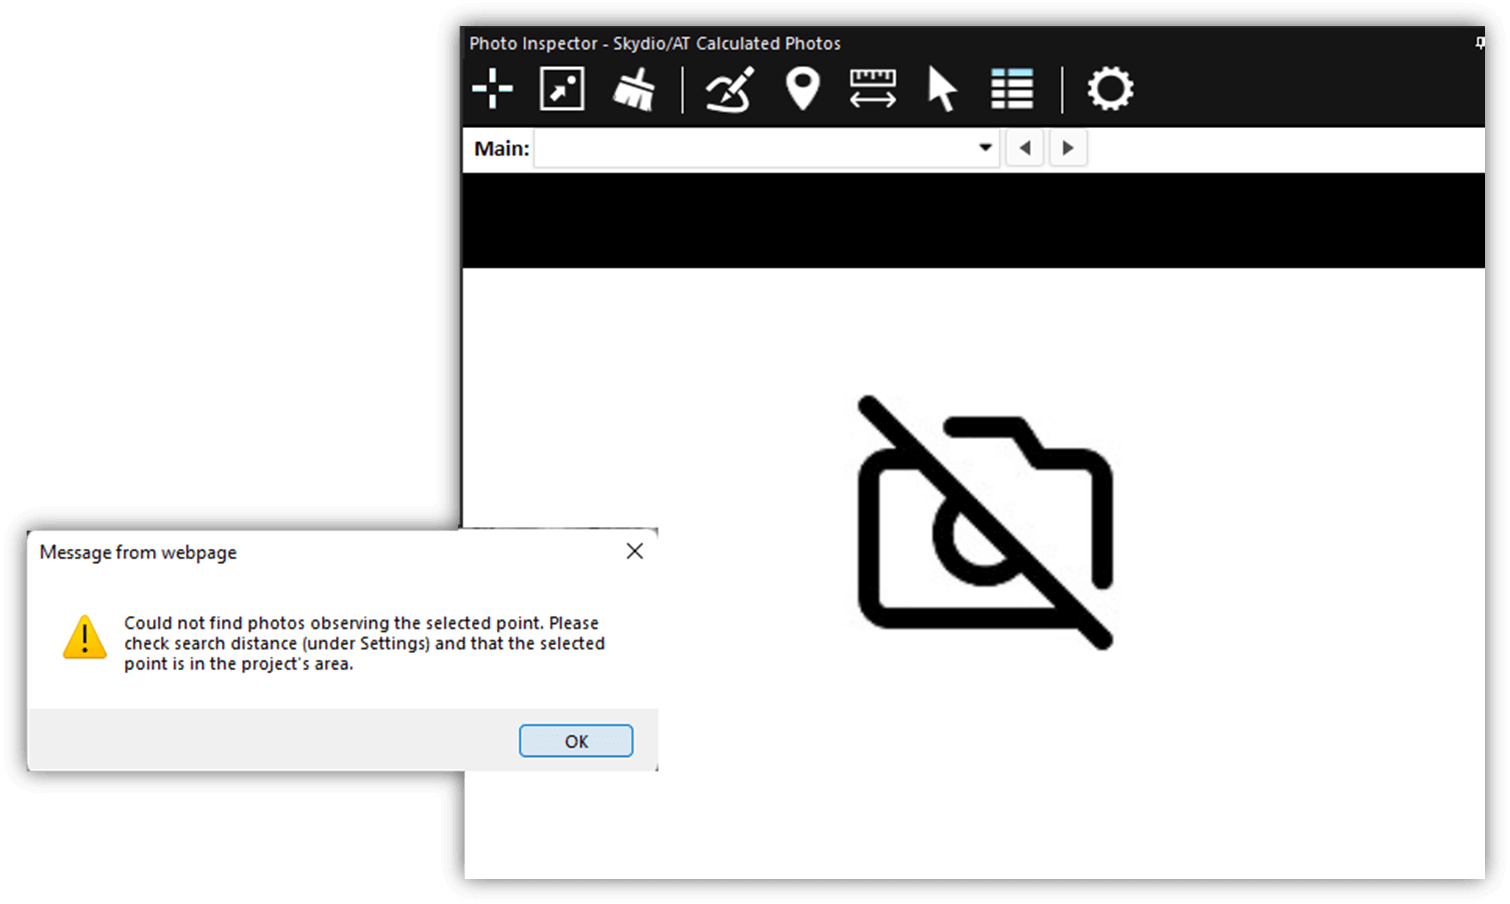
If there are no photos that meet the filter criteria, the photo viewer displays a “no photo” image and a message that no photos were found.