Adding and Editing a Layer’s Alias
Layer aliases simplify the layer update process, allowing for automatic and simultaneous application of changes across all projects that use a specific layer. When you want to update a layer/project, you can reassign the alias from the original layer to a new version of the layer. All TerraExplorer projects that have loaded this layer through the 'Load by Alias' option will automatically receive the updated version once the layer is refreshed. See "Loading SkylineGlobe Layers" in the TerraExplorer User Guide for more information.
In addition to their role in the update process, layer aliases facilitate the use of simpler names for projects/layers, leading to neater and more user-friendly URLs as opposed to more complex catalog IDs.
The alias is displayed in the Layer Name field in the SkylineGlobe Layers dialog, and layers can be searched according to their aliases.
Note: Layer versions serve as an alternative method of updating layers for TerraExplorer projects (FLY layers). See "Selecting a Layer Version" in this chapter for more information.
To add or edit a layer’s alias:
1. From the SkylineGlobe Server Manager menu, select Layers. The Layers page is displayed.
2. Right-click the row with the required layer, and click Edit Alias. The Edit Alias dialog is displayed.
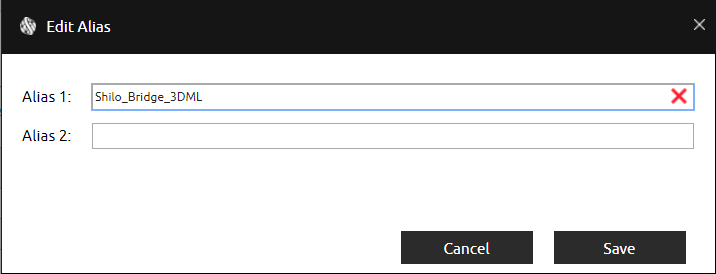
Edit Alias Dialog
3. Type an Alias 1 and/or Alias 2.
4. If you want to set an alias for all of the server’s sites, select its Cross-Site check box.
Note: This check box is only displayed for super administrators.
5. Click Save.